Dashboard and Workspace
How to navigate the Oeave dashboard, create and manage projects, and understand your workspace at a glance.
The dashboard is your home base. Every time you log in, you land here — and from here you create projects, open existing ones, and see how much of your plan you're using.
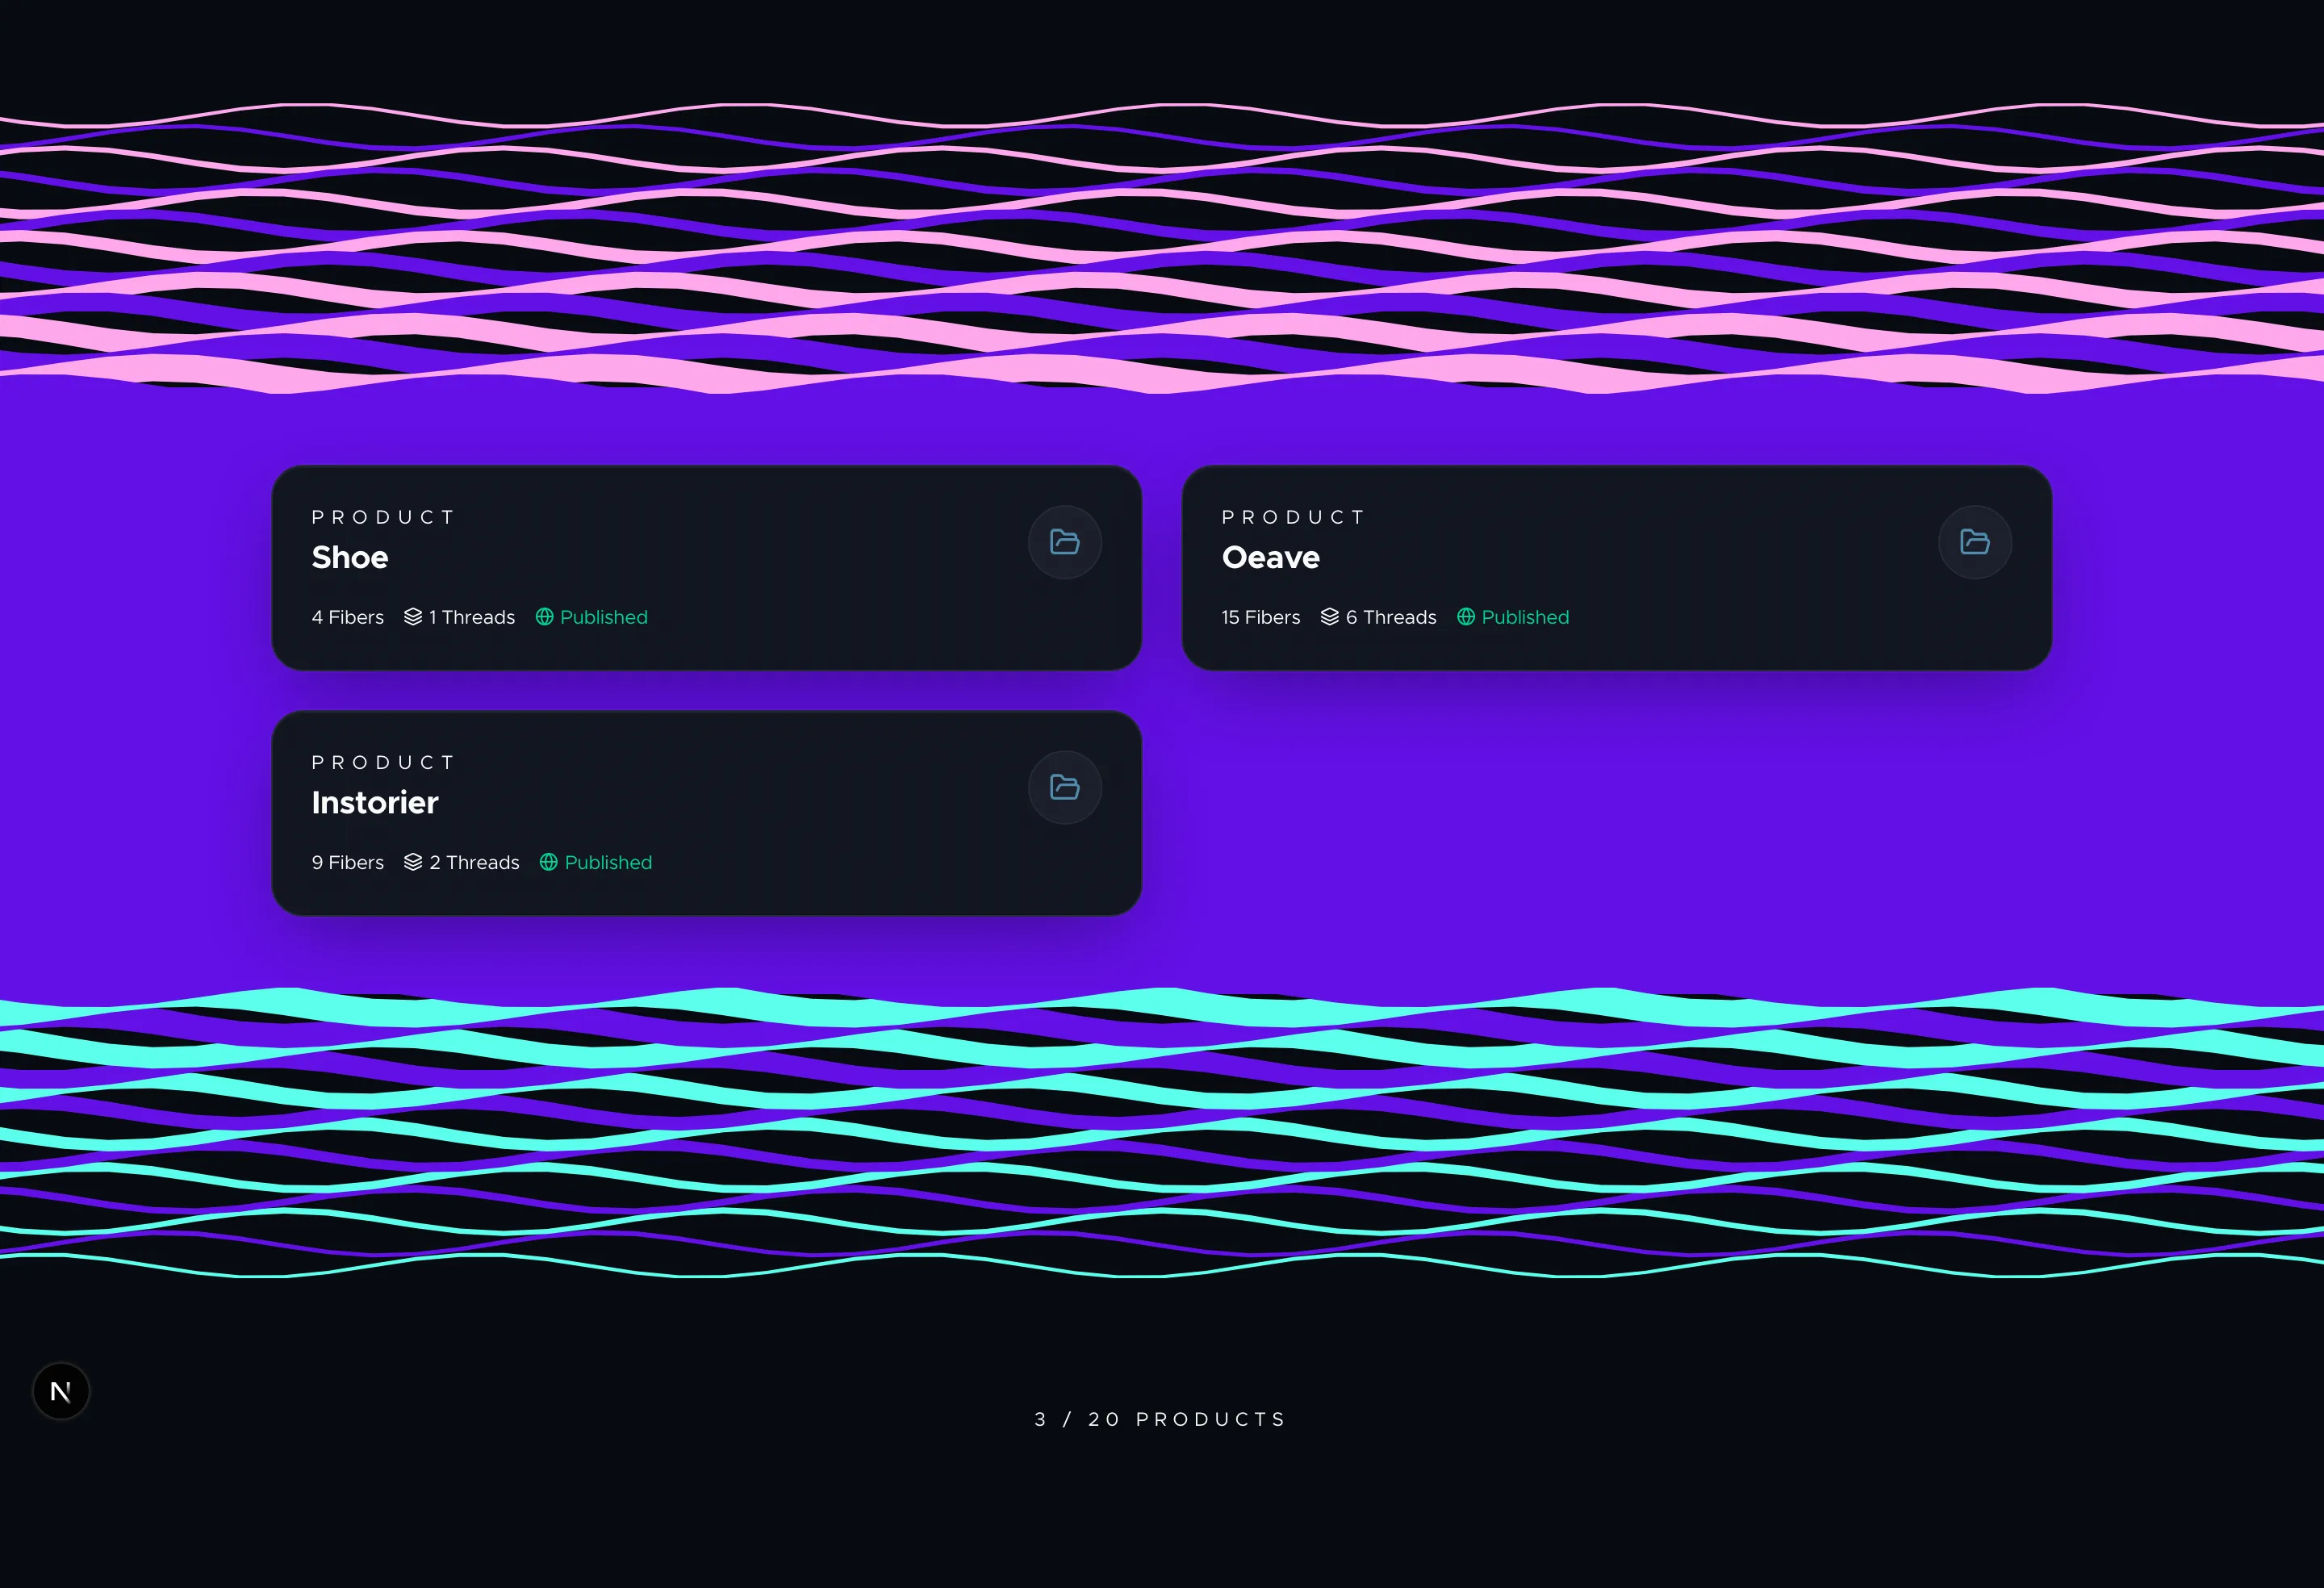
Your workspace
After your first login you'll be asked to pick a plan and start a free trial. Once activated, the dashboard shows your workspace — a grid of all your product projects.
Each project card shows:
- Product name — what you called this project when you created it.
- Fiber count — how many content pieces you've added.
- Thread count — how many curated experiences are built.
- Published status — a green badge appears when the project's Weave is live.
Click any project card to jump straight into it.
Creating a project
Click New product at the top of the dashboard. You'll be asked for a product name and an optional description. The name can be anything — your product's real name, an internal codename, or a campaign label. You can rename it later in the project's Settings tab.
After creating the project, you're taken directly into it with the Fibers tab open and ready for content.
Plan limits
Your subscription tier determines how many active projects you can have. A usage counter at the bottom of the dashboard shows where you stand — for example, "2 / 5 products".
If you've reached your limit, the New product button is disabled and a tooltip explains why. You can upgrade your plan from the Settings page (accessible from the top navigation) to unlock more project slots.
Navigating inside a project
Once inside a project, you'll see a tab bar with three primary steps and three utility tabs:

| Tab | Purpose |
|---|---|
| Step 1 — Fibers | Add and manage your product content |
| Step 2 — Threads | Organize fibers into topic-based experiences |
| Step 3 — Publish Weave | Preview, publish, and get embed code |
| Style | Customize colors, fonts, and layout |
| Insights | View analytics and daily reports |
| Settings | Rename project, manage API key, delete |
You can jump between tabs freely — there's no strict order after your initial setup.
Next steps
Ready to fill your project with content? Head to Understanding Fibers to learn about the different fiber types, or jump to Importing Content if you already have product material ready to bring in.